Tuesday, December 6, 2011

Pinteresting... Very Pinteresting.....


I've always wanted a better way to organize my bookmarked websites and I  think I may have the perfect solution! I started noticing this little red button on quite a few blogs:

  Follow Me on Pinterest

I thought "ooooo maybe this magical red button will take me somewhere sewing related" because of the "pin" in the name. This magical little red button took me to a place better than I could even imagine ..... to Pinterest.

Pinterest is like a virtual inspiration board where you can organize and store links to things that inspire you. 

The minutes can quickly turn into hours as I browse through various "pinboards" and I am filled with inspiration. I feel like I did when I first found Etsy  and Flickr: giddy, inspired and eager to join.  Alas, I'm going to wait until after Christmas to set up my Pinterest account because I have presents to make, cards to send, cookies to bake..... you know the drill!

Click here to visit Pinterest, type something fun like "Christmas Crafts" into the search box and see what fun ideas pop up. Have fun looking at all the eye candy!

Saturday, October 22, 2011

Studio Makeover - Progress Update- Perfectly Imperfect


(If you are new to my blog please read all three of my previous posts in chronological order so that this one will make sense. )

Wow, the last two months have flown by!  Welcome to the dark gray rainy days of October!  Let's go back to where I left off in the studio makeover tale…..back to the sunny days of August. Oh, how I miss summer!

PHASE THREE 
I'm proud to say that I have gotten rid of a lot of stuff.  By the end of the stay-cation there were 2 garbage bags, 3 bags of recycling and a box full of paper to shred.  I also chose to part ways with all of this:

goodbye.stuff

I continued going through my supplies and tools and let go of even more things. Then somewhere along the line progress came to a halt. I can't remember when, why or how, but it did.

I was really hoping that my studio would be done by now and I'd do a fabulous reveal of my perfectly organized and creatively decorated sanctuary. I put off blogging about it because I didn't want to show the world my studio until it was complete and perfect.  I had a realization that I want my blog to be a truthful representation of my life and creative process.

So, without further ado my studio in it's PERFECTLY IMPERFECT state!!!!  (I'll admit I did tidy up a little before I took these pictures)


oct.studio.left
My new sewing area!
oct.studio.right
Yes, that chair is still covered in fabric....
oct.studio.back
That wall needs some adornment. Any ideas?


There is still more work to be done... more sorting, organizing and purging... and I will get there eventually ... one piece at a time!

Have a lovely day!

Best,

Allison

Sunday, August 21, 2011

Studio Makeover - Progress Update - The Stuff

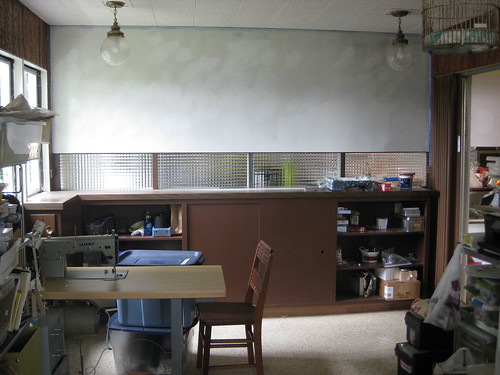
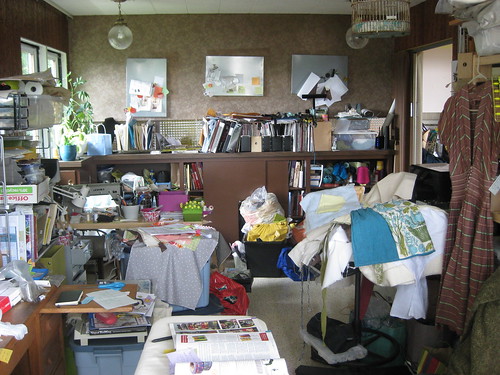
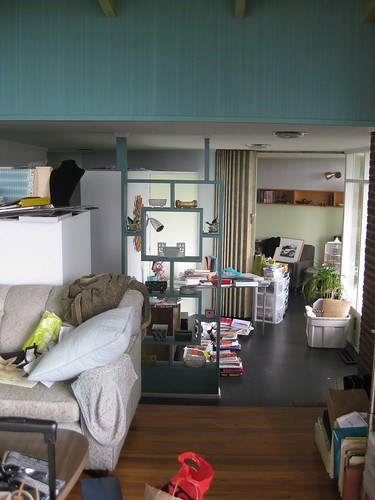
Welcome to the next installment! If you have read my first post, you've seen the before pictures......... I came up with some methods and different phases to help me sort through all the madness.

PHASE ONE

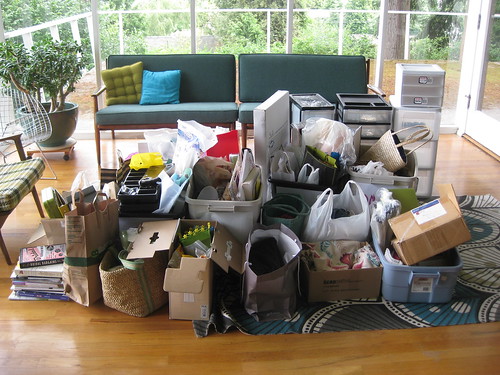
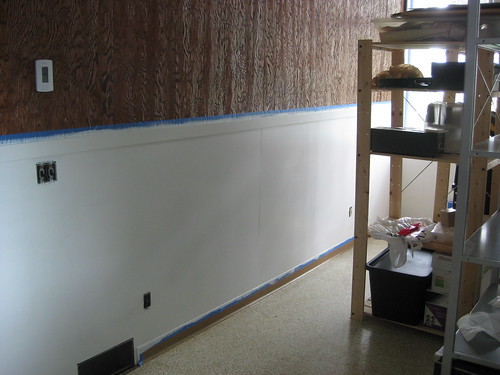
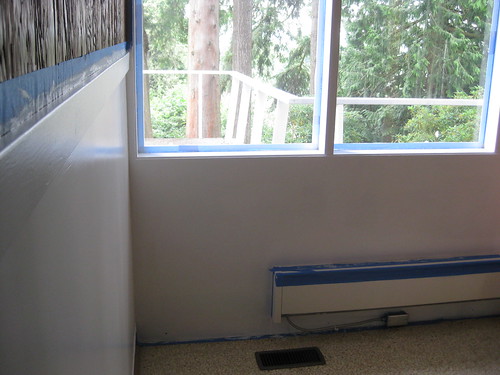
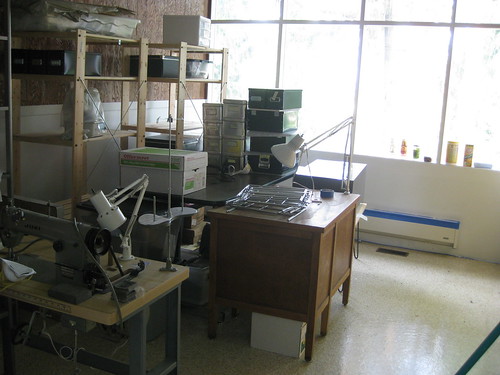
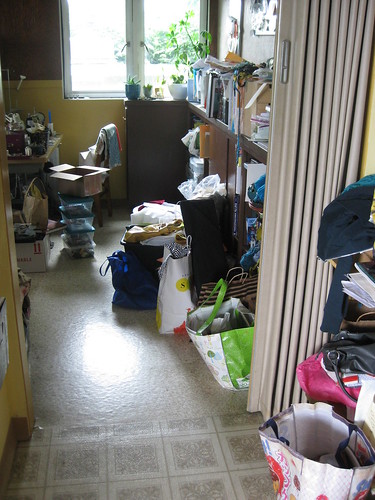
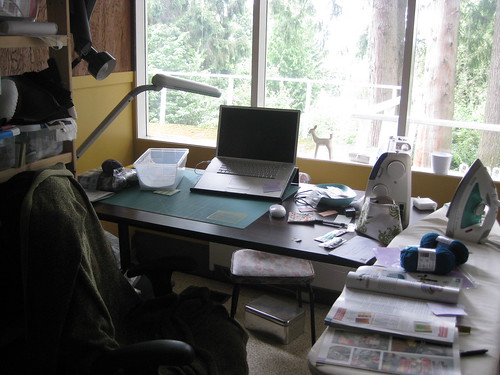
In order to paint I had to quickly pull stuff out of my studio. 

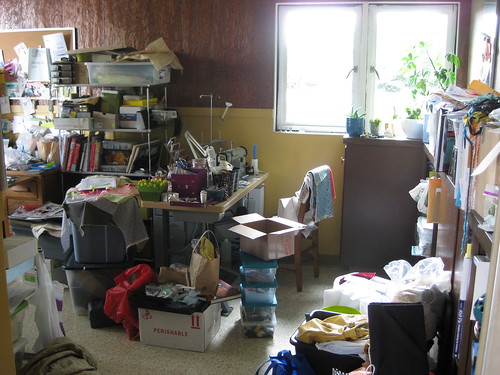
I set up a system of labeled boxes (keep reading for more details on that) and I started grouping like items in designated areas. I put all my fabric and yarn on the couch, magazines on top of the closet etc. There was also an area for boxes full of miscellaneous stuff that needed to be gone through.

sorting.boxes

Here are the categories I found helpful while sorting:
GIVE (items that will be given to a specific person or charity)
DONATE (items that will be donated to a thrift store)
SELL (items I'm hoping to sell, maybe on my etsy shop)
W.I.P (craft projects that are in various states of completion, each in their own bag)
V.I.P (items I don't want to lose in the chaos)
KEEP (basically, this box held my lamps so they wouldn't get lost)

Also important to have a place for:

RECYCLING (I used paper grocery sacks)
GARBAGE (I used garbage sacks)
SENSITIVE DOCUMENTS TO DESTROY (I used a card board box)

heinrich.sorting
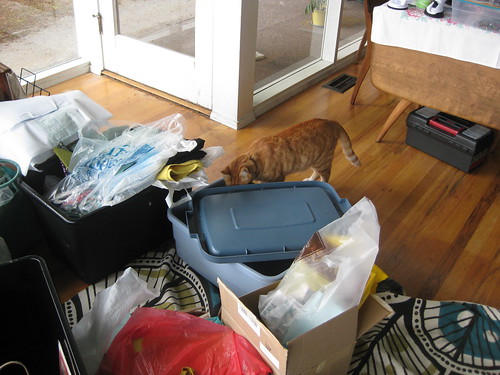
Meet Heinrich, our cat, this is his attempt at helping me sort.
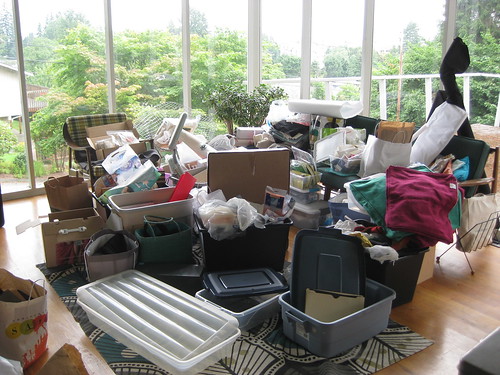
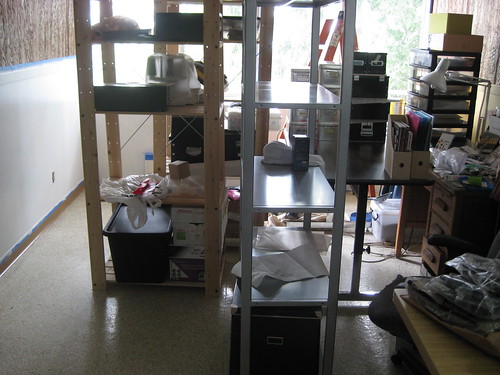
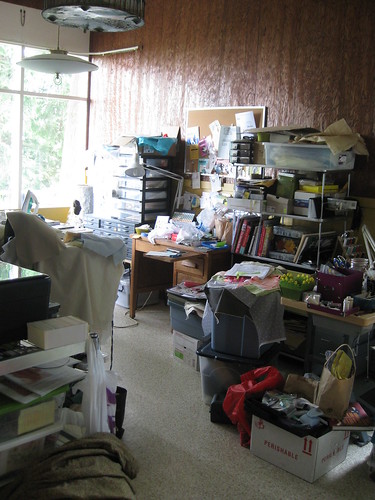
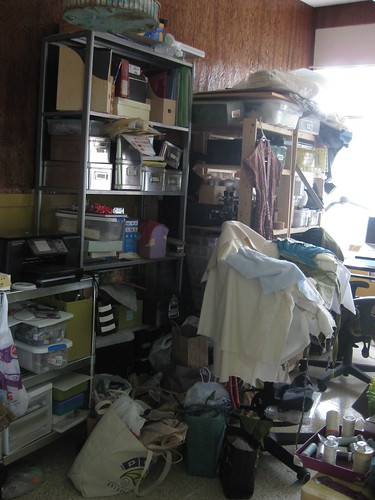
sorting.phase2

More stuff....

thestuff.1

and more...

thestuff.3

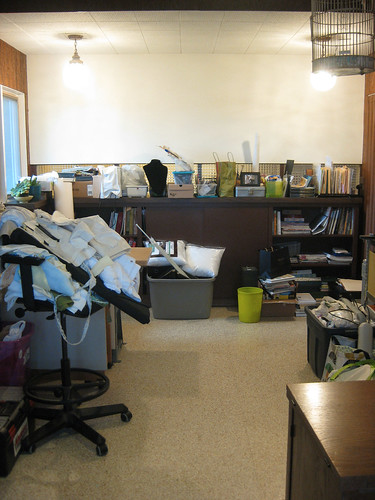
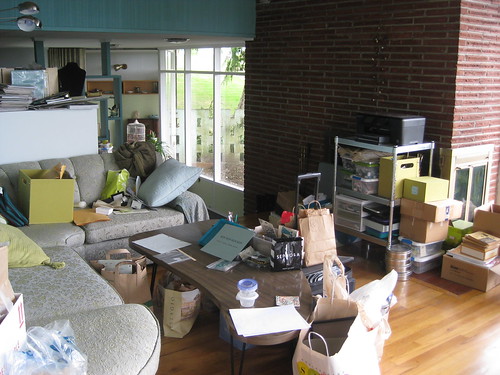
I ran out of room so stuff spilled into other rooms... oopsies! I like to spread out, what can I say!


PHASE 2

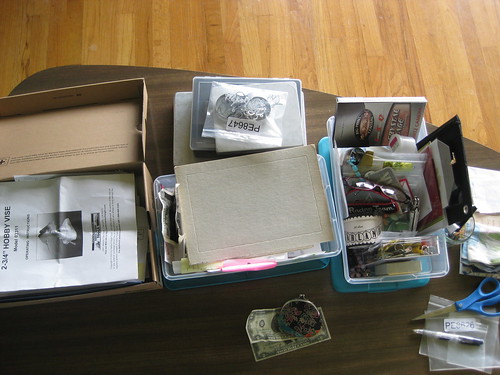
After we pulled most of the stuff out of my studio it was time to go through some, shall I say time capsules.  In the past I would fill up shoe boxes, drawers etc. with "important" documents, trinkets and other miscellaneous objects. Well I'm proud to say that those days are over!  It took hours to go through these boxes and drawers of stuff that I never unpacked from last March when I moved in. I vow to never do that again!

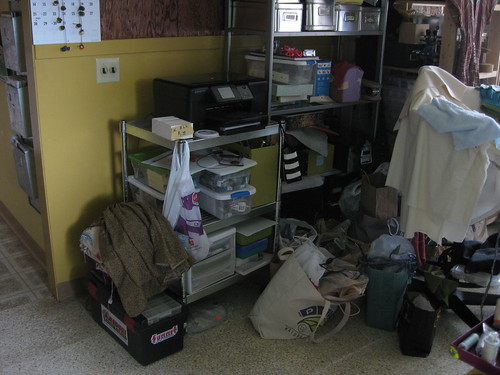
I added some categories to my sorting system (see the picture below):

PAPERS TO FILE ( I used a shoe box)
SMALL PIECES OF PAPER TO GO THROUGH ( I used a clear shoe-box sized plastic bin )
SMALL ITEMS THAT NEED TO BE PUT AWAY  ( I used a clear shoe-box sized plastic bin)

coffeetablesortingstation


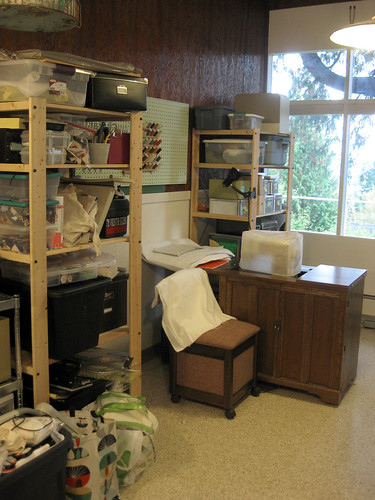
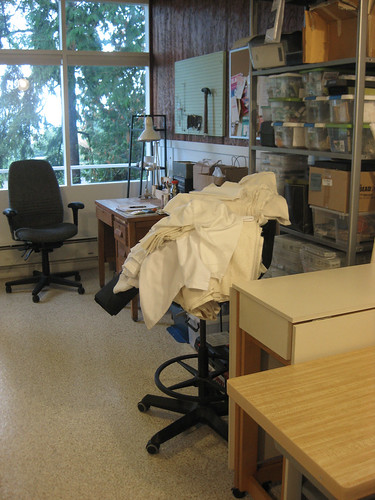
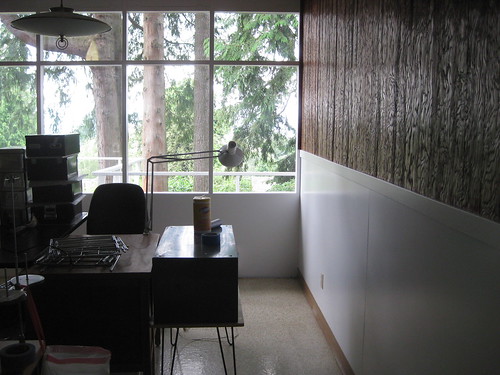
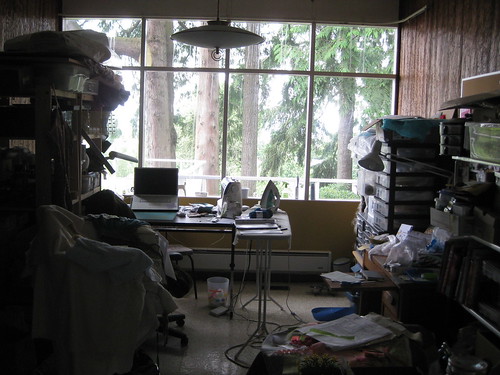
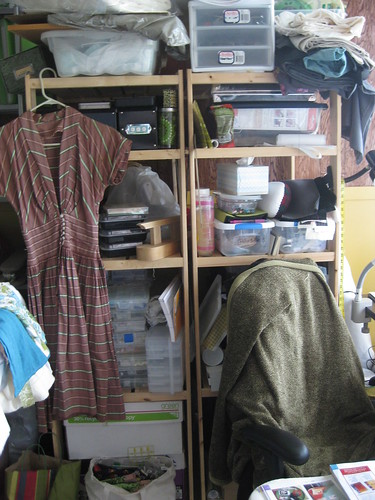
We then took the items and boxes that were grouped into categories and figured out where to put them in the studio. On one shelving unit we put all my beads and jewelry tools. On the second we put my sewing tools and fabric and on the third we put my knitting, felting and general art supplies.  I soon discovered that I still have more stuff than then I have shelves......

Stay tuned for stay-cation stats and Phase 3!

Best,
Allison

Thursday, August 11, 2011

Studio Makeover - Progress Update - The Room

So much progress has been made (with the help of my talented husband and countless cups of peppermint tea) on my studio! I have a lot to cover so I thought I'd break it up into two sections... "The Room" and "The Stuff".

This is the first progress update on "The Room", my studio. My next post will be an update on "The Stuff" that was in the studio. Warning this post is very photo heavy.

On Monday the painting madness began.... Goodbye ugly brown wallpaper and mustard walls! We also did all the trim around the front windows. I learned how prep surfaces correctly and how to use a paint roller.
goodbye.wallpaper

goodbye.mustard

shelf.shuffle

leftandfront

On Tuesday we shuffled the furniture around so that the Husband could paint the ceiling and finish the wall above the built-in bookshelves. Together we painted the right wall. I'm getting pretty good at using a roller by now!

shelf.shuffle.2

right.wall.white

Wednesday we had some winged visitors... The Husband added trim and prepped the new-ish window and did touch ups. Together we came up with a new furniture arrangement that I think will work out nicely.

thevisitors

window.trim

Stay tuned for "The Stuff" update!

Best,
Allison

Friday, August 5, 2011

Greetings! Cheers to Day One!

Hello, my name is Allison and I love to make things... When I'm not making jewelry you can find me sewing, knitting or doing hand embroidery. Lately, I've been really inspired by the modern quilting movement. I've been experimenting on small projects, building up my skills so that I can create a quilt!

I’m married, work full time, teach jewelry classes on the side and sell my jewelry on Etsy. I don’t have any real children (yet), just one of the furry, four-legged, feline variety.  I’m sure you’ll learn more about me as my blog progresses but for now I must get on to the featured topic!

In January of this year I set the goal of starting a blog. Well, the months have come and gone and I can’t believe that it is August. Today is day one of my blog (hooray) and of a ten-day stay-cation, but more importantly today is the beginning of my studio makeover!

I’ve hit rock bottom… I just can’t work in my studio any longer.  Now, if you know me, you're aware of my undying love of craft supplies. However, my tendency to collect has resulted in a sizeable stash that has outgrown my studio space.
Exhibit A:

landing.pad


This table is a place for my purse, keys and mail. Gee, I don't know how all the knitting projects, fabrics, beads and beading magazines got there....
I’m documenting this journey in the hopes that it will inspire others to tackle something challenging in their own life. I can organize a box of beads until the cows come home but when it comes to a whole room I get overwhelmed. I’m really skilled at acquiring “stuff”, not so keen on de-stashing. 

Today I took photos of my studio! They aren’t perfect but I wasn’t going to let the crummy weather get in my way. I wanted to take “before” pictures so that I can laugh victoriously upon completion of the makeover. Without further ado…my studio:

studio.door
Ok, here we go....

studio.right.wall1
Bright grey overcast with a hint of drizzle masquerading as sunshine.   

studio.right.wall2


studio.viewfromentry

studio.windows


studio.left.wall1


studio.left.wall2


studio.left.wall3


studio.viewfromwindows

This concludes our tour.... until next time!
Best,
Allison